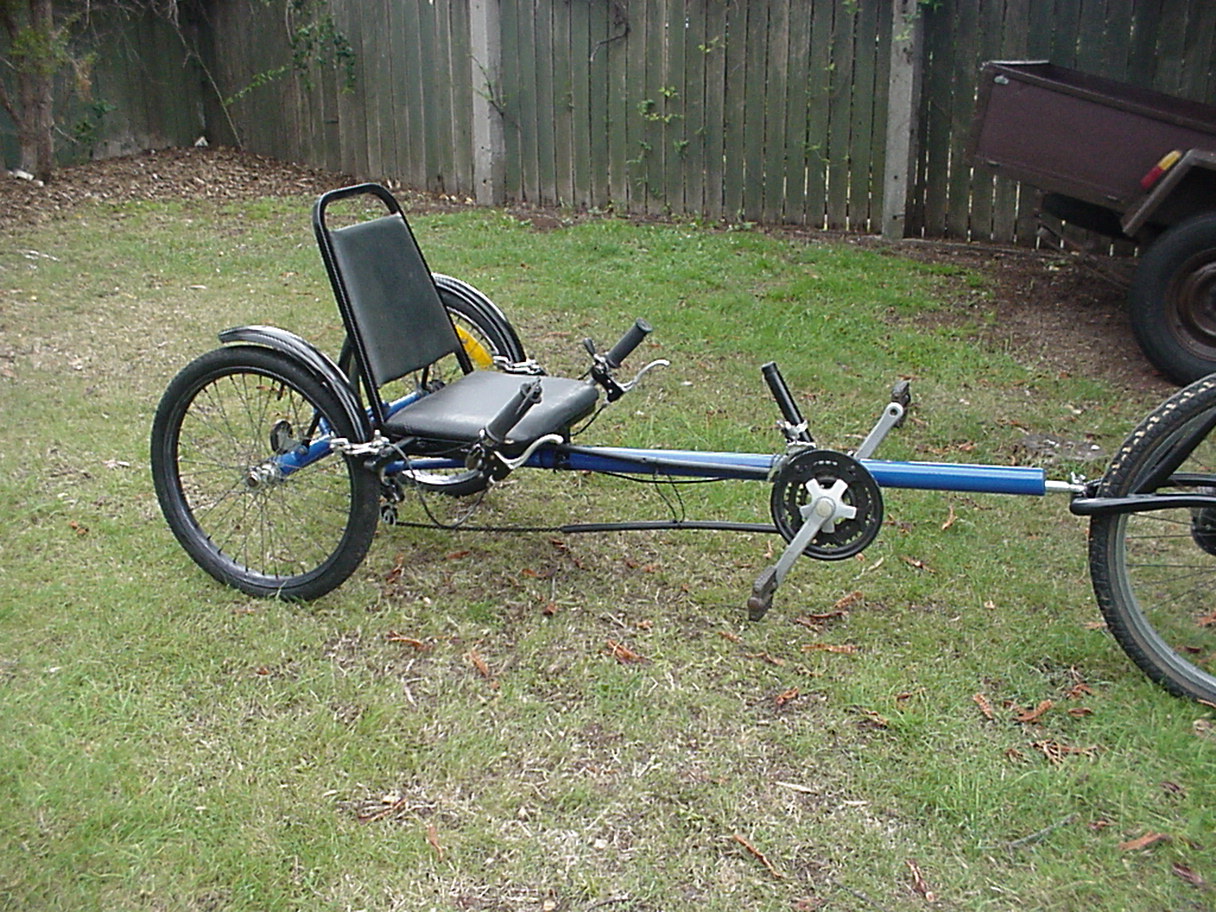
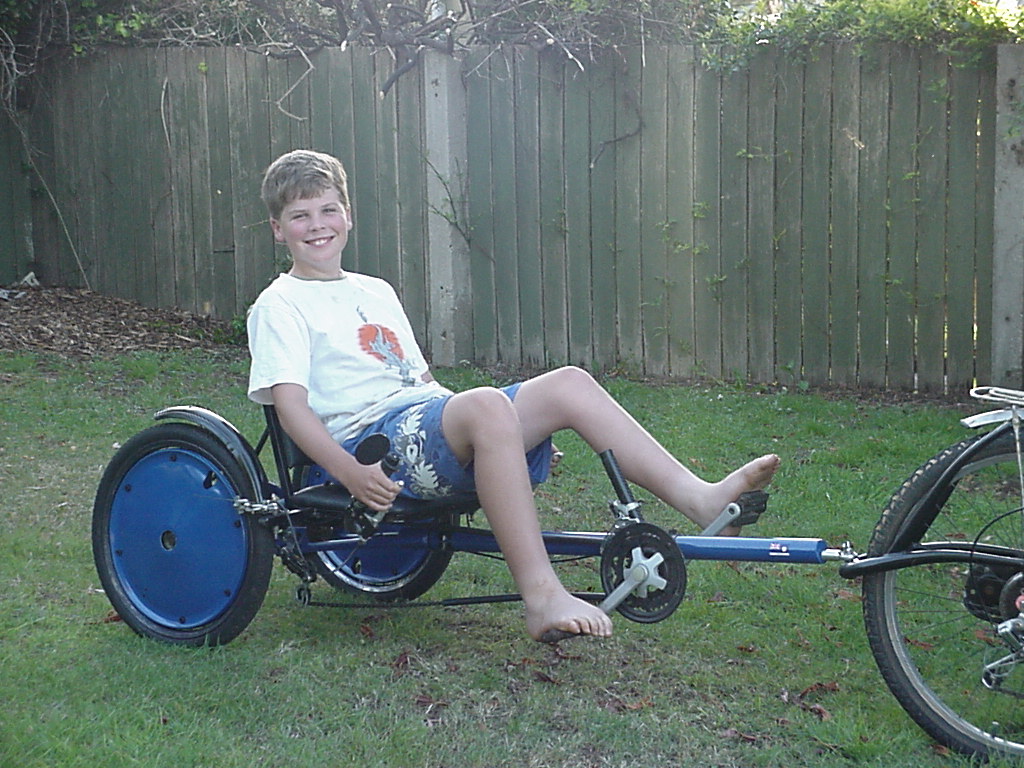
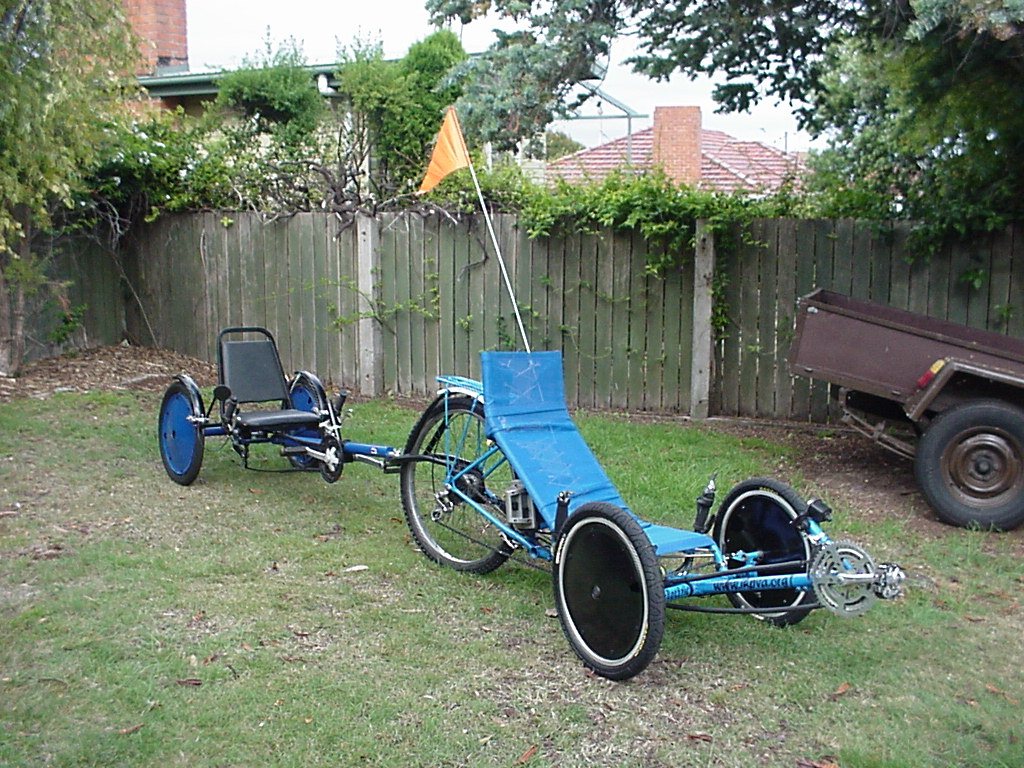
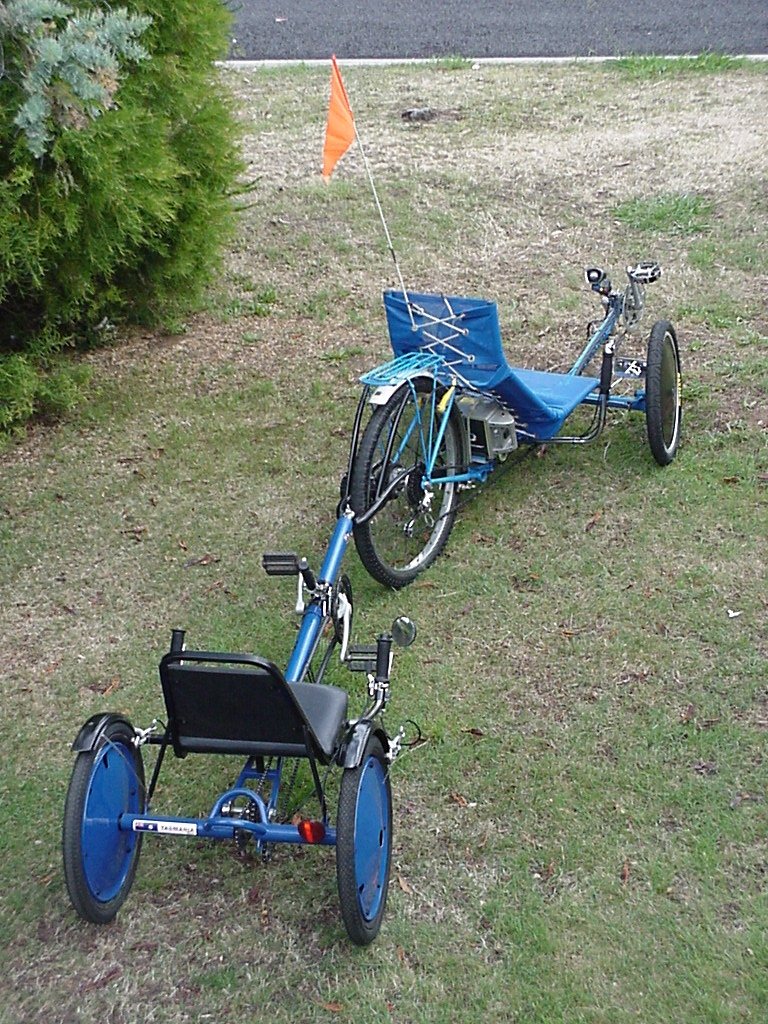
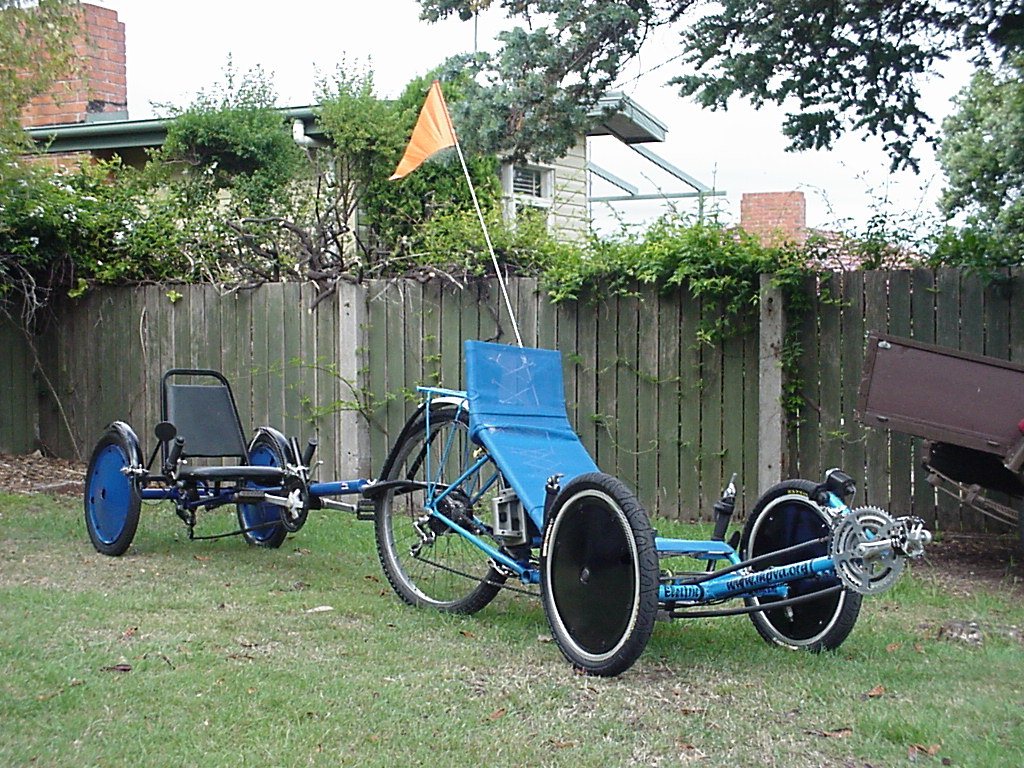
Why a pedal powered trailer? Well I have several ambitions I hope to achieve with this setup. Mostly - It turns the trike into a tandem but is easily removable and allows me to keep closer control on the stoker in traffic. (in my case a 10 year old son) Why 2 wheels - well I'm not certain how well a trike would go with a single wheeled trailer balancing on the back. My guess is it may compromise the stability when cornering.
This trailer is made mainly out of portions taken from the Delta Trike
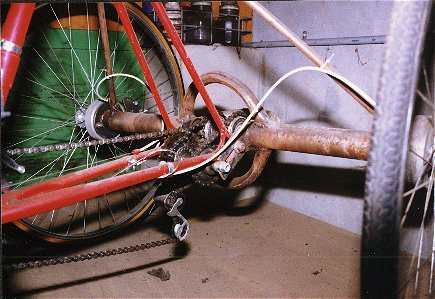
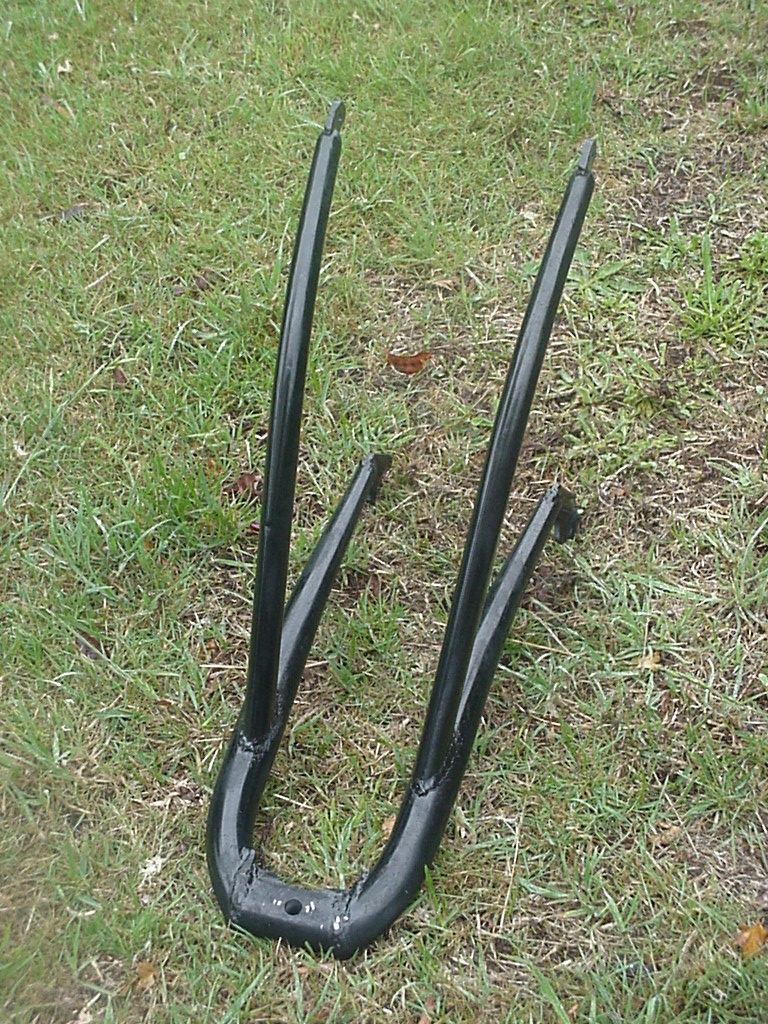
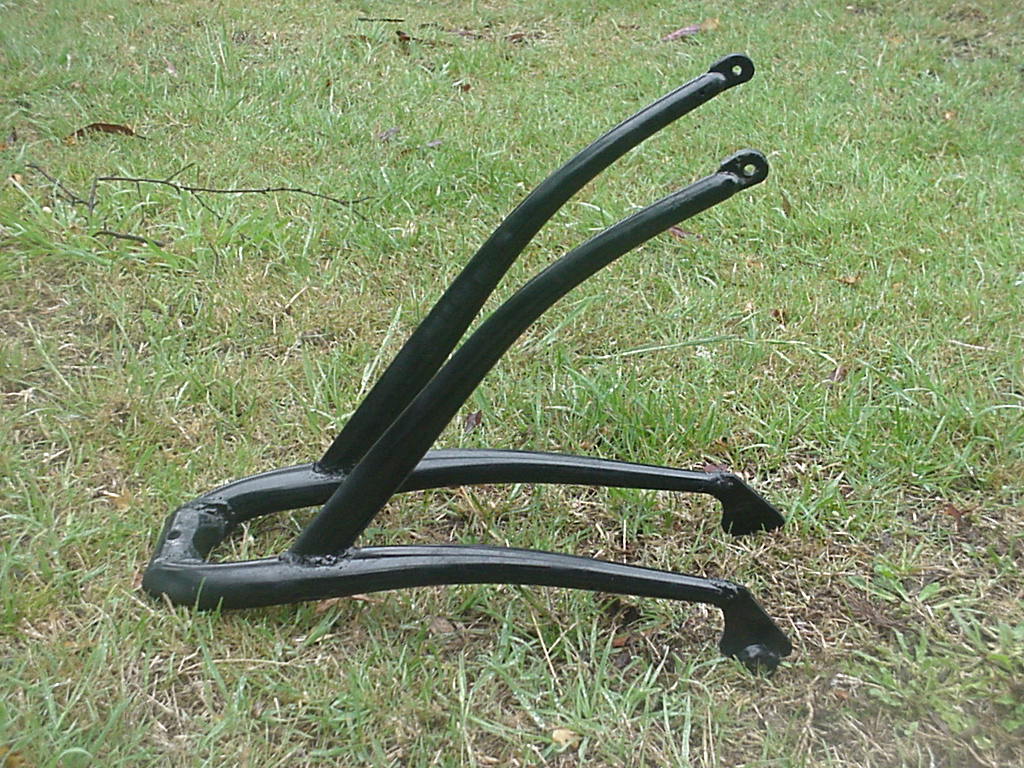
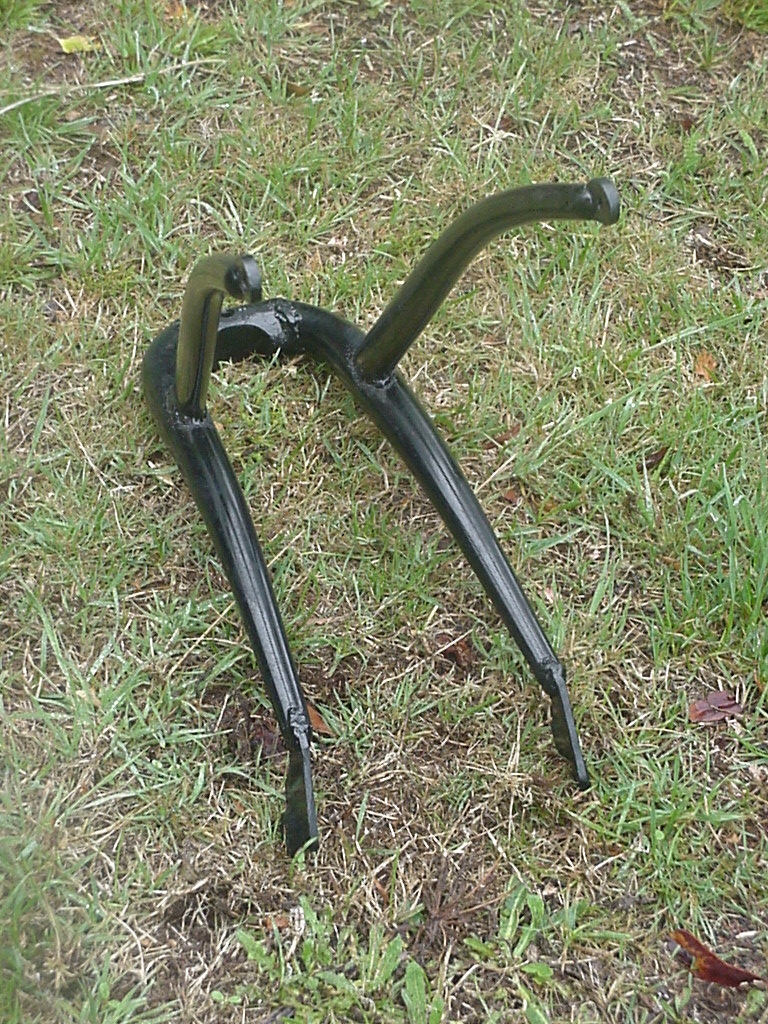
mentioned previously. I have a concern for the strength of the
towbar which is made from bicycle front forks so will keep a
close eye on how it holds up. A rod end quite a lot larger
(1/2") than used on a trike steering arm is used for the tow
ball/joint and appears to work ok.
One thing I've noticed is that when riding, the pedal motions of the trailer have my trike appear to jerk back and forth. My guess is a pedestrian wouldn't see it but I certainly feel it through the seat and find it quite annoying. (or am I just fussy) My first impression was it was just under heavy power strokes but having put some distance on notice it's there most of the time. Maybe it's just the norm on all tandem related HP devices? Note - as the 2 machines (trike and trailer) have their own gear system there is no timing for the cranks. Could this make a difference? I hear almost all drive trains on tandems don't have gearing adjustment between the 2 chainrings. (or is timing just to lessen the strain on the gear system by spreading out the load?)

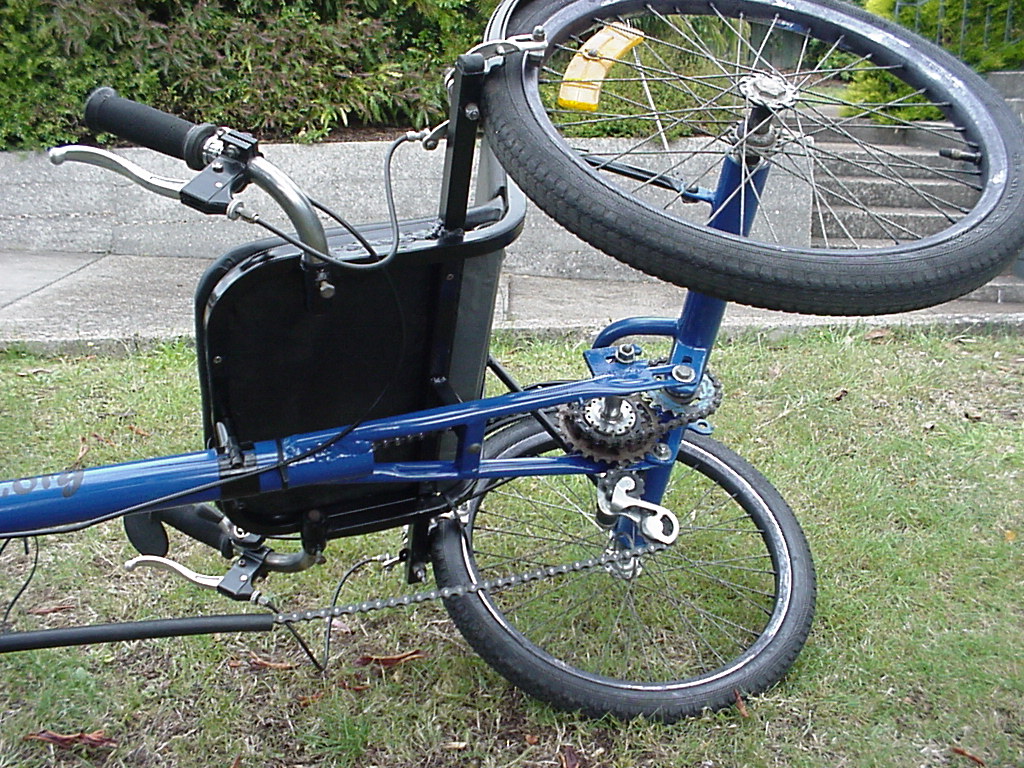
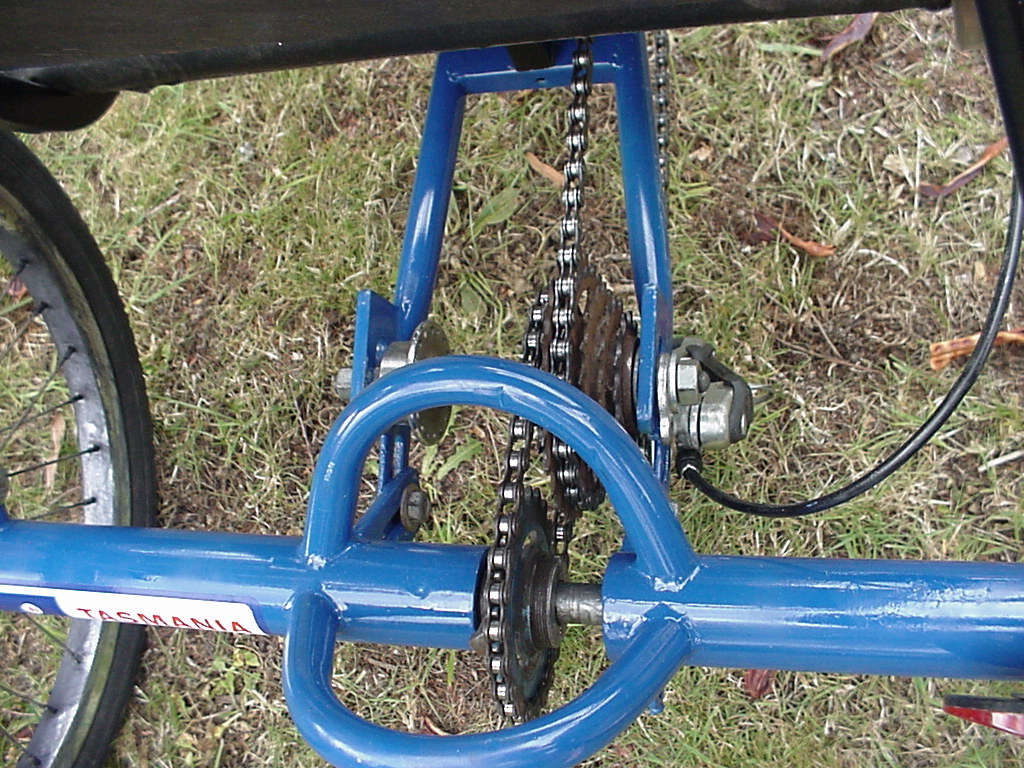
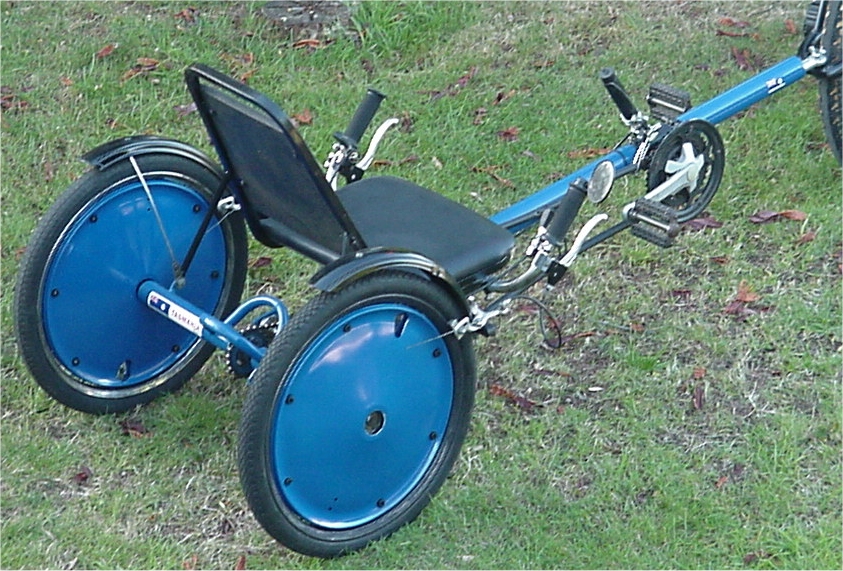
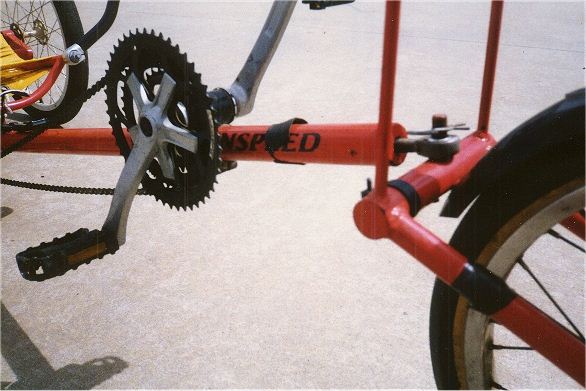
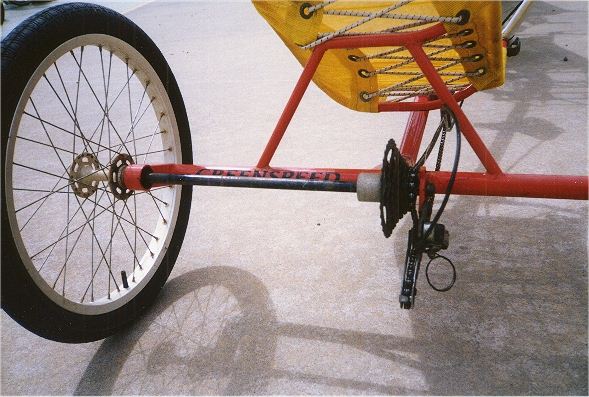
This would have to be the most difficult part of this as it could not be easily made in my workshop with very limited tools so I opted to use an upright trike for this portion of the frame. A design I came up with if I did build one would possibly be this drawing. The real axle has the same diameter as a normal cycle bottom bracket axle. This allows one to use pedal cranks with a cottered fixer if needed. I welded a bottom bracket cone nut onto a thick walled tube as I had some screw on cogs the fitted the thread. (found on exercise bikes) A grub screw is used to fix it to the boom after a small flat was filed onto the axle.
I would have liked to have the 2 rear wheels driving but that isn't easy using what already is here and it doesn't seem to pose problems riding. This would mean having some sort of differential usually having a cog with inbuilt ratchet on each wheel and a jack-shaft.
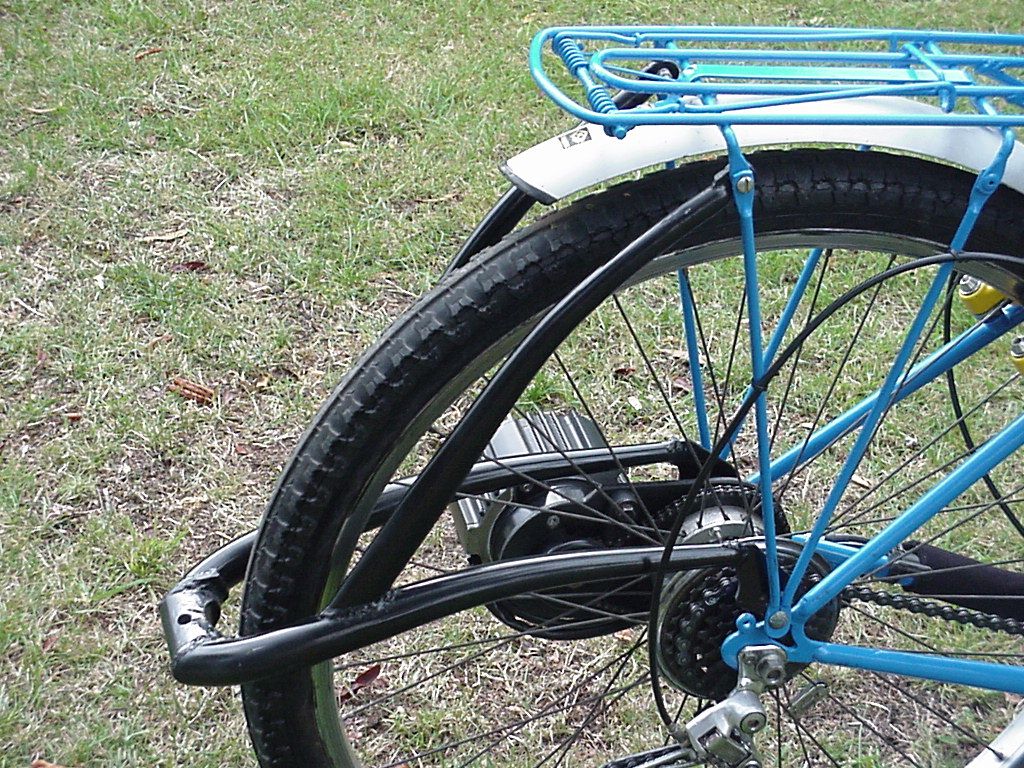
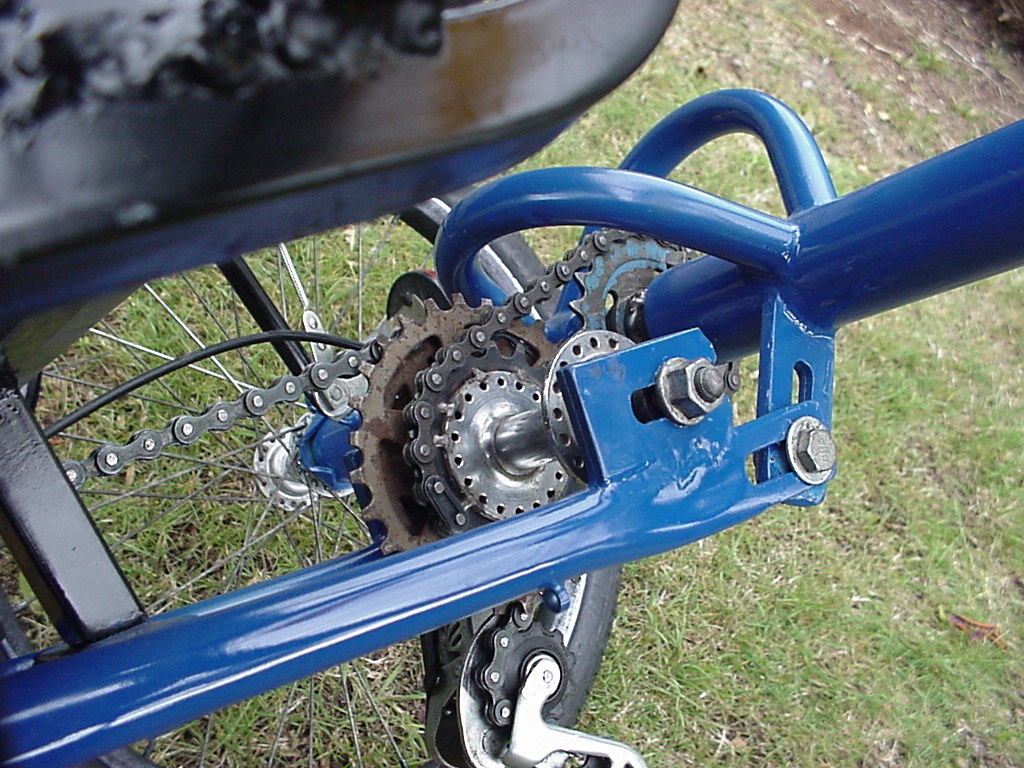
A ex cycle rear hub is used as an intermediate and bike rear forks for the mount. A sprocket is welded onto the spoke flange to give drive to the rear axle.
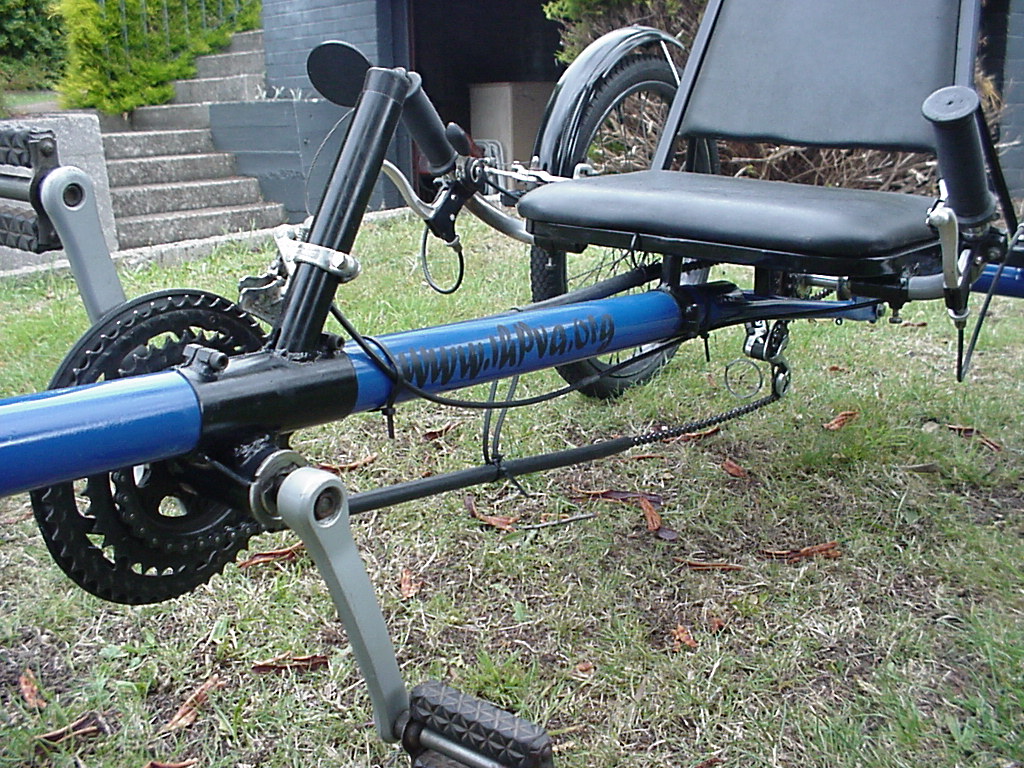
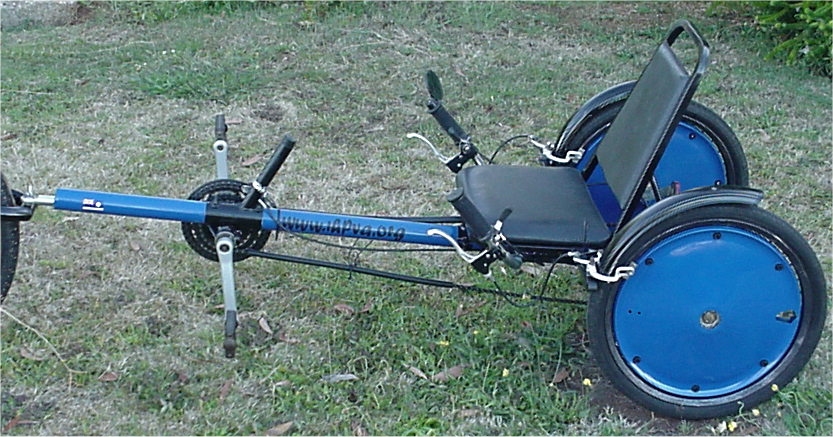
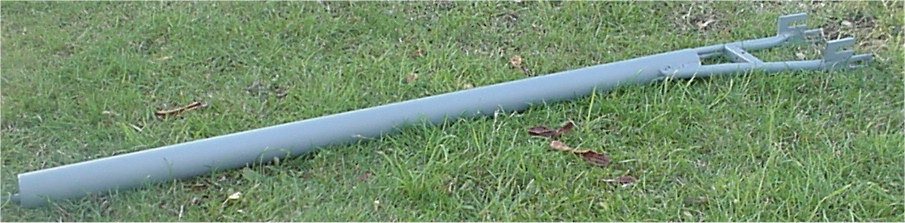
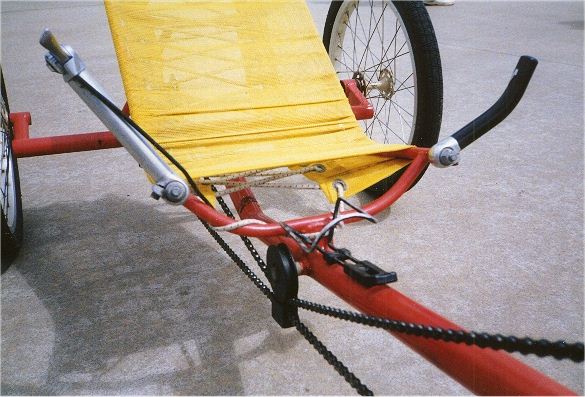
I wanted the Bottom Bracket sliding along the boom for rider size adjustment and also wanted the hitch as low as possible. This meant the BB shell would be on the bottom and as a slit was made along the top of the slider tube it was difficult to have the derailleur tube coming from the top and still have it adjustable. A slit was made up into the derailleur tube before it was welded onto the slider tube to let the slider tube compress and it works fine. See picture. Before the slit along the slider tube was made a long nut was welded each end to make the clamp.
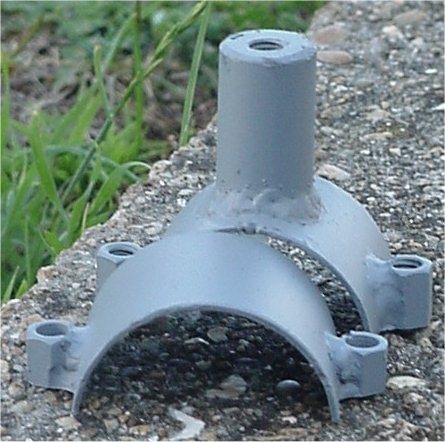
The rod end needs to be held to the boom - a bolt was welded on the inside of the boom with just enough thread out to fully go into the rod end. A piece of scrap metal sheet (in my case some scrap boom tubing/car exhaust flattened out) is welded to the end of the boom and ground to shape. This cannot be proud of the end or the BB will be impossible to remove. I first went for a 5/8 unf bolted rod end but found it a little too weak so it now sports one that takes a 1/2 inc unf bolt which appears plenty strong enough. A small hole was drilled into one of the wings on the nut and fixed with wire when riding to be certain it wont undo.
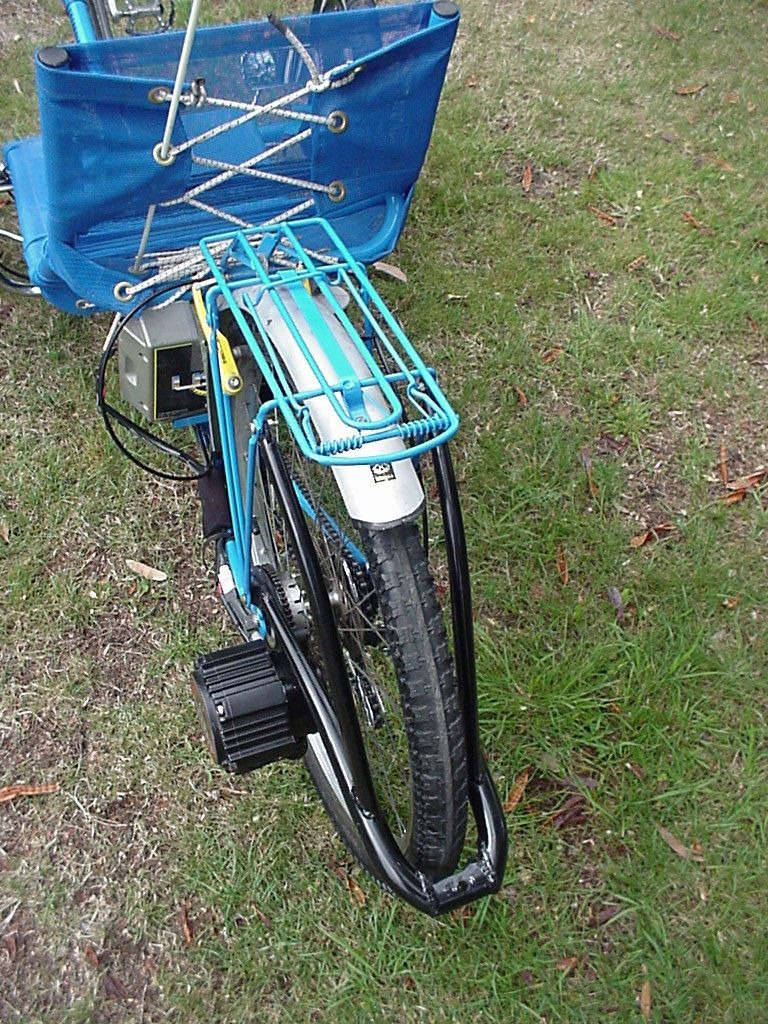
I'm still not absolutely certain the mounting of the tow hitch is strong enough as it connects up to the trike carrier and puts a lot of load on it's light mounting points. The hitch is made with ex cycle front forks and was shaped as it was because it had to clear the electric motor.
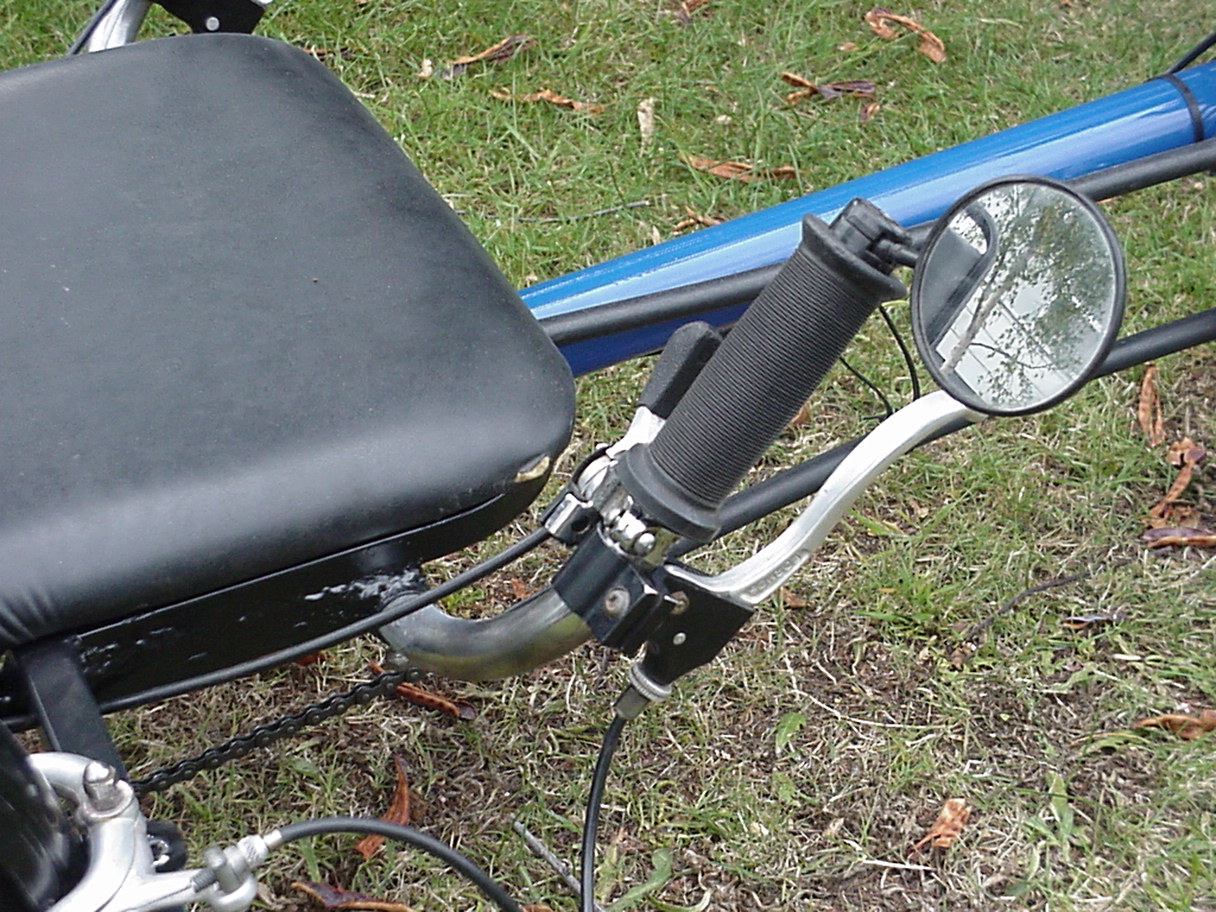
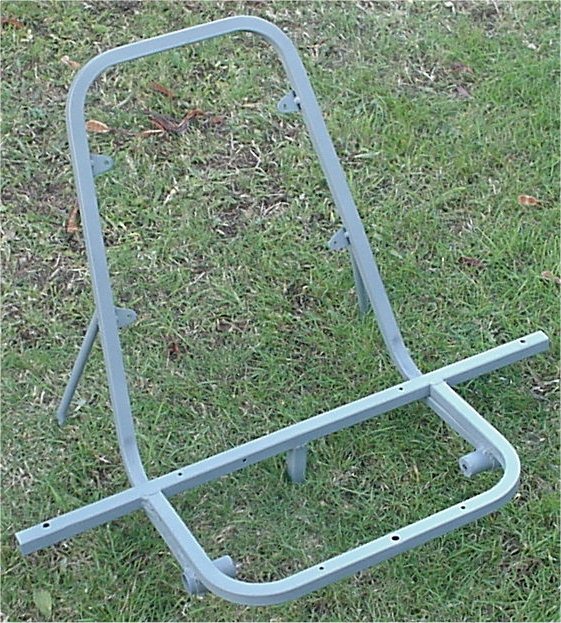
Of course the handlebars do no steering so only need to be fixed to the frame. A nut was welded into the end of the bars and a tube welded each side of the seat for the bars to slide into. A washer was welded on the end of that tube so a bolt can affix the bars using the nut welded on it's end. You'll also be able to see a grub screw 90 degrees to the bars that was my first attempt at fixing them but it isn't very successful as it easily squashed the bar tubing. (even with something inside the tube)
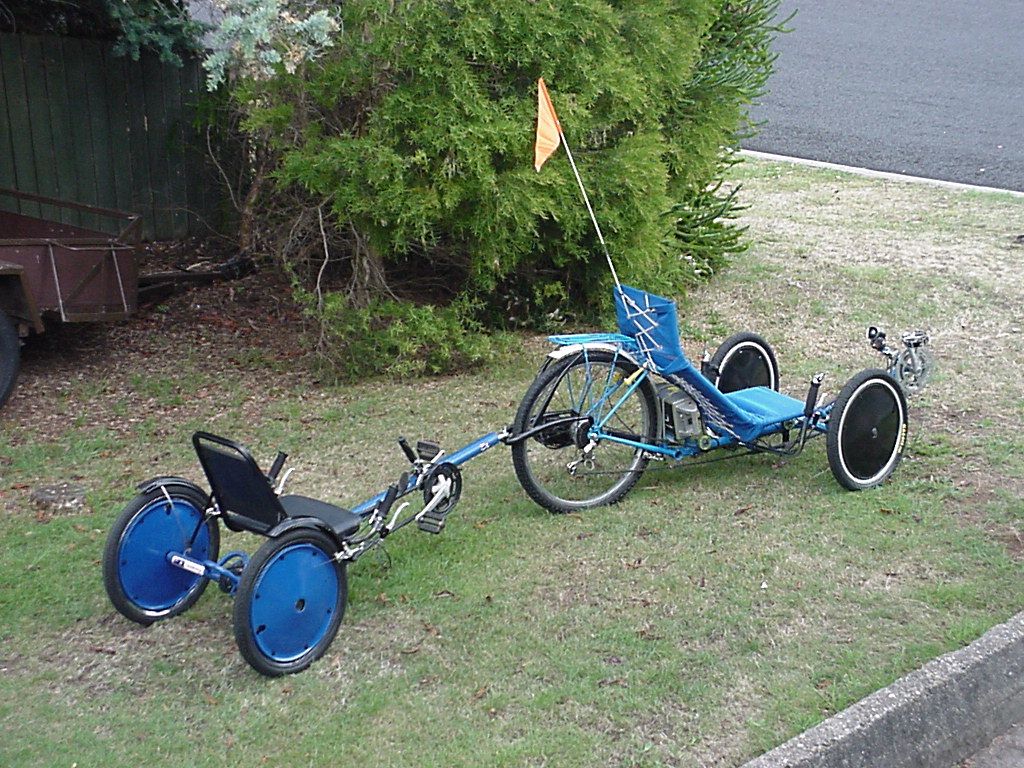
Pictures of trailer |
|||||
|---|---|---|---|---|---|
| Trailer on trike | Trailer from front | Right side | Tow hitch from back | Right side tow hitch | Tow hitch from back |
| Tow hitch from left side | Underneath of trailer | Trailer from above | Trailer Left side | Right control | Drive system |
| Front of drive unit | Sticker | Tow rod end | Right control | ||
|
|||||
| Video of trike and trailer | |||||
|
|||||
| Boom | Bottom Bracket | Rear end unit | Drive wheel & Axle | Seat Frame | Seat - to - boom mount |
| Tow hitch 1 | Tow hitch 3 | Tow hitch 3 | |||
|
|||||
| Walking round the stationary trike and trailer - MPEG format, Viewing Size 320 x 240, 9sec, file size 858k | Riding - MPEG format, Viewing Size 320 x 240, 5sec, file size 4.8k | Riding - MPEG format, Viewing Size 320 x 240, 4 sec, file size 400k | Riding - MPEG format, Viewing Size 160x112, 15 sec, file size 335k | Riding - MPEG format, Viewing Size 160x112, 7 sec, file size 175k | |
If you were thinking of building a trailer or this rear drive system yourself it would be worth checking out these Web sites.
Semi-professional, part built
trike drive system
building/deltadrv.htm
Sidewinder
Greenspeed trailer - also look at Pic 1, Pic 2,
Pic 3
Birth of the Trailerbent
Trailers
http://www.hase-spezialraeder.de/content_e/trets.htm
I have a gap between the left wheel and it's nearest bearing so I can mount another cog. This may end up being connected to an electric motor that has on it's shaft a cog with a ratchet built in allowing it to freewheel.
I've sampled this idea before - see Pic
1 & Pic 2 All of the
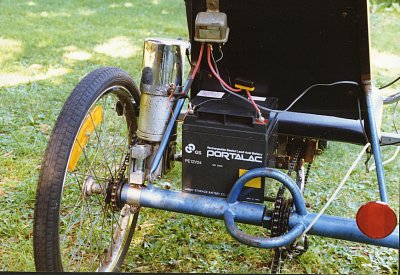
electric's were just mounted temporarily. The relay is one often
used for car spotlights and the battery is really too big (read
heavy) being a deep-cycle 24AH. Really the motor is too heavy as
well for any type of speed but it may be possible to connect it
up to the tow trike's assist battery.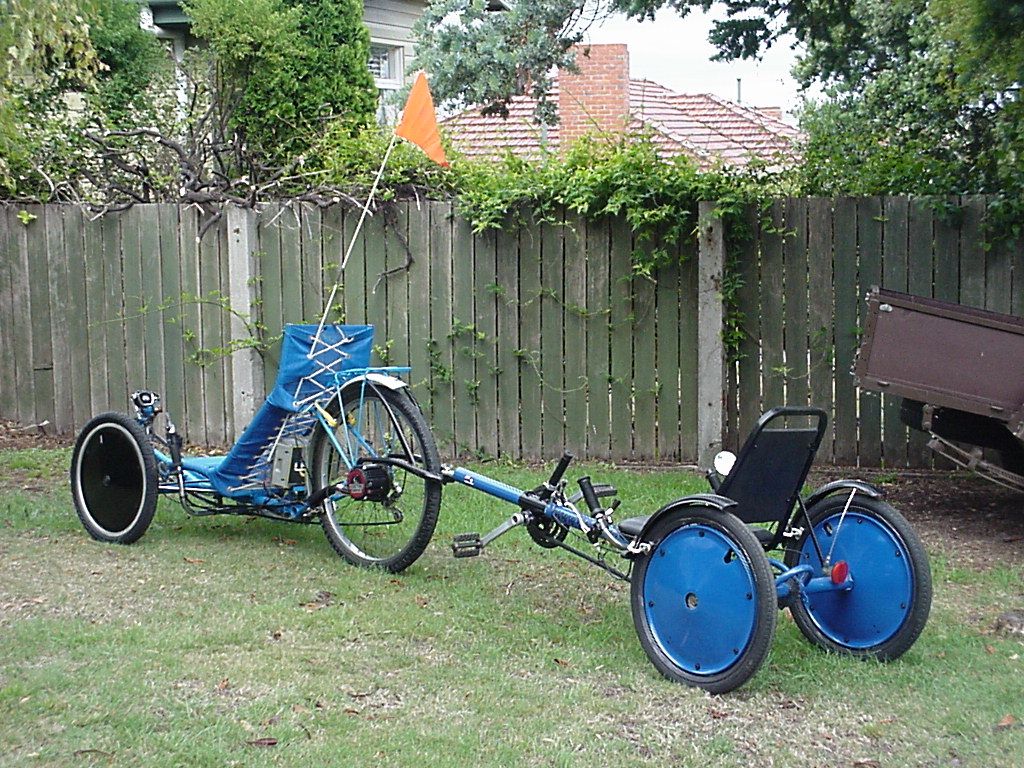
A bike clutch ratchet is mounted on the rear axle. This allows the trike to freewheel when not using the electric motor. There was one unexpected downside to this that is very annoying. The motor has a friction brake at the top (under the chrome cover) that is released by a solenoid at startup. This makes it impossible to roll the trike backwards as the clutch added only goes one way. I find this very annoying, especially navigating in traffic as well as parking and often have to pick up the back end to maneuver it.
A piece of exhaust tubing was used on the main axle. It was split and a long nut welded across the gap. The nut is then cut in half and one side drilled out making this an adjustable clamp. With the riser tube welded to it the motor can be moved up or down to adjust the chain tension.
Specifications |
|
|---|---|
| Track | 660 mm |
| Seat Height from ground | 380mm |
| Seat angle from bottom to back | 105 degrees |
| Total height | 750 mm |
| Total Length | 1.64m |
| Front cogs | 28-38-48 teeth |
| Rear cogs | 14-17-20-24-28 teeth |
| Gear inch | 69-20 |
| Wheel size | 20" |
| Crank Length | 175mm |
| Max width | 695mm |
| Hitch Height | 380mm |
| BB Height to centre | 295mm |
| Boom dia | 45mm |
Last updated Friday, January 30, 2009
[ Home ] [ Ally] [Stamp FAQ] [ HPV Index ] [ Design overview ] [ Bike 1] [ Bike 2] [ LWB Bike] [ SWB Trike ] [Electrified 20" Tadpole trike] [ Childs Trike ] [ SWB Trike 2 ] [ Electric Trike ] [ RWS Trike ] [Delta Trike] [Childs Hi-Wheeler] [ Bike Trailer ] [Recumbent bike trailer] [Power Trailer] [ Steering Diags ] [ Steering Mounting] [ Kingpin Diags ] [Novel HPV Ideas] [ Australian HPV Resource ] [ Links ] [Power Assist] [ Unusual Vehicles ] [ Electric RC Models ] [ EV Circuit Diags ] [Tas HPV] [QLD PP] [Qld HPV] [Skycycle] [Bleriot] [Building HPV's] [Darryl] [Null Modem] [ Pedalezy ] [ USPD ] [Zeta] [Power Attachment] [Email]